About Me

I currently live in Munich, Germany. Previously, I've lived in Portland (OR), Amsterdam (NL), Brussels (BE), Madrid (ES), Sheffield (UK) and Sevilla (ES).

Sunday, September 26, 2010

Pendant / Colgante

Os dejo una idea para un colgante simple.

This is a very simple necklace.

El fin de semana pasado compre una piedra que me gusto pero sin ninguna idea clara en mente. Ayer, finalmente, me decidi a meterle mano... La piedra es suficientemente grande y vistosa para que no necesite nada mas asi que todo lo que hice fue utilizar un nudo de horca (no se si se llama asi pero el nudo corredizo ese de las horcas :)) en un cordon grueso.

I got a stone that I liked a lot a couple of weeks ago during a trip. Yesterday, I tried to make something with it and this is the result:

Este es el resultado:

I just used a thick cord and a big knot as the only decoration...

Tuesday, September 21, 2010

Fun & Easy Felt jewelry

Hoy os voy a a ir guiando para hacer unos pendientes de fieltro y os dare alguna otra idea para que sigais creando vosotras.

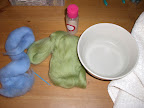
Today, we'll be doing a pair of felt earrings.

Para empezar necesitamos fieltro en mechas de distintos colores que combinen bien. En el ejemplo que os voy a mostrar, he utilizado dos tonos de azul y morado. Necesitareis tambien unas cuantas perlas en los mismos tonos para combinar, un trozo pequeno de cuerda o cordon y unos enganches de pendientes. Para trabajar el fieltro tres cosas esenciales: un bol con agua caliente, un pequeno bote de jabon de ducha o manos y una toalla.

To start we need wool top for felting in a couple different colors that combine well. In this example, I used 2 different shades of blue and 1 purple wool tops. To make the earrings, we'll also need a few small beads in matching colors, a piece of cord (I used thin hemp cords) and the earring metallic base (I used a copper one but you can use any).
One more thing; to felt, we'll need a bowl with hot water, a small bottle with shower gel or hand soap and small clean towel.

Aqui tenemos todo lo que necesitamos:
Cogemos unas cuantas mechas de uno de los paquetes de lana; simplemente tirando con suavidad se iran soltando del monton. Los ponemos todos juntos y formamos una pequena bolita con los dedos como se ve en las fotos que siguen:

Softly pulling from the bunch of wool, we'll get small threads that we'll put together as shown in the pic below. Once we have a small quantity, we twist it with our fingers to form a small ball.


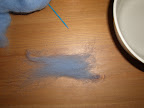
A continuacion, sujeto con los dedos, sumergimos la bolita que hemos formado en el bol de agua caliente y al sacarla del agua, le echamos una pequena gota de jabon. Ponemos la bolita en la palma de la mano y empezamos a rodarla entre las dos manos, dandole forma (es con el jabon, el agua y la frotacion que las hebras de la lana se van entremezclando y solidificandose). La vamos metiendo en el bol de agua cuando sea necesario para eliminar el exceso de jabon. Una vez que la bola sea compacta, la enjaguamos estrujandola para eliminar agua y luego la pasamos por la toalla para ayudar a secar mas rapidamente.

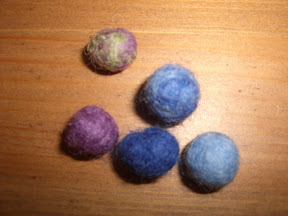
Now, we put the ball in the water and once it's wet, we add a small drop of soap. We put the ball in the palm of our hand and start working on it by moving it on circles between both hand palms. Start softly and add more pressure as the wool starts felting. Put it back in the water whenever necessary to eliminate water excess. Once the ball feels compact, we put it in water to eliminate any soap rests and then dry it in the towel.

Hacemos lo mismo varias veces hasta tener 6 pequenas bolitas de distintos colores. Ahora vamos a ensamblarlas para los pendientes.

We'll need to redo this process until we have 6 little balls for this project. Then, we'll proceed to make a hole in each one of them with the help of a round toothpick.

Con un palillo de dientes redondo y un poco de paciencia vamos haciendo agujeros en las bolitas. A continuacion pasamos la cuerda o cordoncillo por la bolitas y las combinamos con las perlas de colores que teniamos al pricipio. Hacemos nudos en los extremos para que no se salga nada y lo anudamos a la base del pendiente y, voila, unos pendientes divertidos
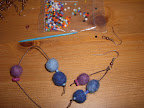
, originales y faciles de hacer!!!

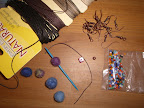
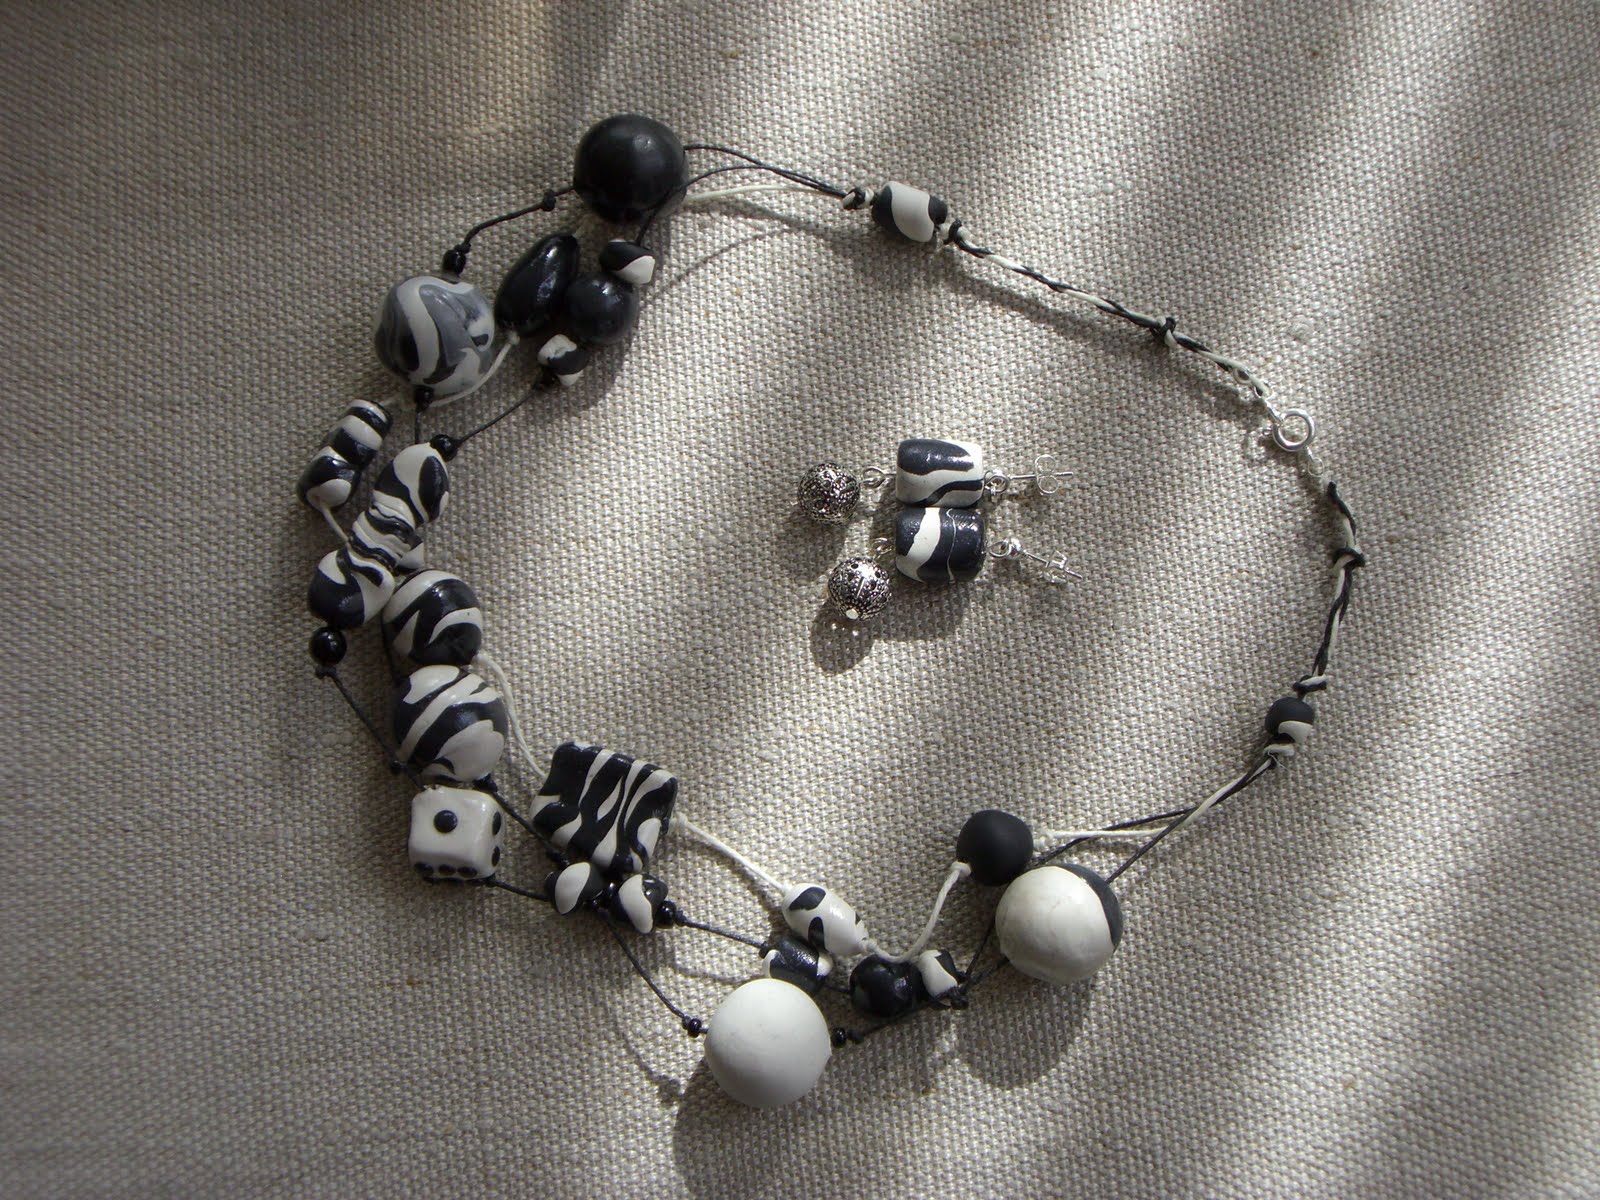
Now, the only thing left is to put everything together. First, we take a small piece of cord and pass it through the felted balls, add in some of the beads and use knots on the extremes to avoid all the pieces falling apart. To finish knot the cord to the metallic piece and, voila, we've got a pair of original & fun earrings!!!

Os dejo una foto mas con los pendientes terminados y otro proyecto muy similar de conjunto de pendientes y pulseras. Como podeis ver, sobre el fieltro es muy facil de coser perlitas o unas con otras.

In this pic, you see the project finalized & I've included another one with earrings & matching bracelets to give you additional ideas. Have fun!!

Monday, August 30, 2010

Cuentas hechas a mano con Arcilla / Clay beads

Este conjunto de collar y pendientes esta hecho con cuentas de arcilla de colores; en este caso blanca y negra.

Aqui, en EEUU, se llama Polymer Clay y hay unas cuantas marcas como Sculpey... En España creo que se llama Fimo pero no estoy segura.

Trabajar la arcilla no tiene mayor dificultad. Solo necesitas decidir los colores a combinar y empezar a juntarlos y a experimentar con formas y mezclas. Una vez tengas suficientes, acuerdate de hacerles un agujero para ensartarlas (un palillo de dientes si las quieres poner sobre cuerda o un alambre gordo si las vas a poner sobre alambre) y luego van al horno. Para rematarlas, puedes darle una capa de barniz especial para manualidades. Aqui se llama "Glaze"; desafortunadamente, no os puedo ayudar a los que estais en España :(

Making your own clay beads is easy and fun. You only need to chose the colors that you want to combine and get started! :)
There is a huge variety of Polymer Clay brands that you can use; I haven't used clay enough to be able to recommend a specific brand. I've used a couple of them and the result is similar so I'd say go for the cheapest!! (Sculpey @ Michael's ~$1.79)

Once you have the shapes of the beads, remember to make a hole so you can use them in your jewelry projects. I use a toothpick for cord or the metal finding itself when it's to be used with it.

To finish, you can paint your baked beads in a glaze solution to make them look crystal like or others (there are many different solutions for different purposes; just experiment!)

Aqui van algunos otros diseños simples con arcilla:


Pendientes de piedras y perlas comerciales / Simple earrings

Empecemos por lo mas facil... unos pendientes.Todo se puede hacer tan facil o complicado como queramos. En la foto he puesto tres pares de pendientes que he hecho y cada par tiene un grado de dificultad distinto:
1- Los mas simples son los centrados arriba en tonos morados con rallas. Estos pendientes son simplemente unas bolitas monas con colores de moda, un alambre para ensartarlas y el cierre. Todos los elementos se compran ya hechos asi que solo queda ensamblarlo todo junto con la ayuda de unos alicates de punta redondeada.
Tiempo estimado 5 min.
2- Los de grado medio son los que hay abajo a la derecha en tonos rojos-anaranjados. Estos en adicion de los elementos mencionados en los primeros (bolas, alambres de enganche y cierre), incorpora un elemento metalico entre el enganche y la bola. Esto realmente no añade dificultad ya que es la misma tecnica pero es necesario añadir aros metalicos para enganchar las distintas partes y que siga teniendo movilidad y largo adecuado.
Tiempo estimado de realizacion:10 min.
3- Los mas dificiles son los de abajo a la izquierda. Estos, ademas de todos los elementos del numero 2, incluye una parte central hecha de alambre. En otra entrada centrada en el uso del alambre para los abalorios, explicare como se hace paso a paso.
Tiempo estimado: 40min

Nota: se puede clickear sobre la foto para ver mejor los detalles

Brief summary in English: How to make earrings -
Making earrings can be as easy or difficult as you wish it to be. I've included a picture with 3 different models, each a different degree of difficulty.

Easiest first - top-center ones in purple & white. You only need 4 things & about 5 min to make them. The 4 things you need are: pliers with rounded points to work the metal findings, 2 pretty beads in fashionable colors, 2 metal findings to insert the beads onto and two earring hooks.

Middle level one are the ones at the bottom-right in red-ish colors. It's similar to above pair but with an added element; the metal pendants and metal rings to attach them to the beads and the hook. You'll need about 5 more minutes for this type of creation.

Most difficult ones are at the bottom-left. For the most part are as the ones above except that in this model the metal pendant piece in the middle is hand-made (with my little hands, a pair of pliers and wire and a bit of patience :)). I might explain in a separate post how to work the wire to make this piece but for the moment, you can try to figure it out by looking at the pics.

Tuesday, August 3, 2010

Objective/ Objetivo de 'Taller de Abalorios'


A dia de hoy no tengo claro el objetivo; espero que se vaya definiendo a si mismo poco a poco atraves de los diferentes posts... ni siquiera tengo claro si lo voy a escribir en español o en ingles.

Creo que intentare hacerlo bilingue para que mis amigas locales o "no españolas" tambien puedan seguir algunas cosillas. Ademas, al haberme iniciado en EEUU, hay muchos terminos que no se como traducir exactamente. Tampoco tengo idea alguna de como de facil o dificil es encontrar todos los utensilios necesarios en Europa asi que supongo que vosotros me lo tendreis que decir...

En cualquier caso, a todas vosotras que estais leyendo, bienvenidas al blog y espero que lo disfruteis y encontreis ideas que inspiren vuestra creatividad!!

Now in English :)

To start, the name of the Blog is 'Taller de Abalorios' which translates to 'Jewelry making workshop' or something like that.

Currently I do not have a fully defined idea of this blog's objective; I hope it will define itself through the different posts... I haven't even decided if I'll write it in Spanish or English!!

I think I'll try to keep it bilingual so the non Spanish speakers can also follow if interested :). Moreover, since I've started with the jewelry making here, in the US, there are a lot of words that I find hard to translate into Spanish. Note that I'm familiar with the shops and ease/difficulty of finding tools/beads in the US but not in Europe. You - all my friends in Europe - will have to let me know how it works for you.

Anyways, to all of you... Welcome to my blog and I hope you enjoy it! :)